























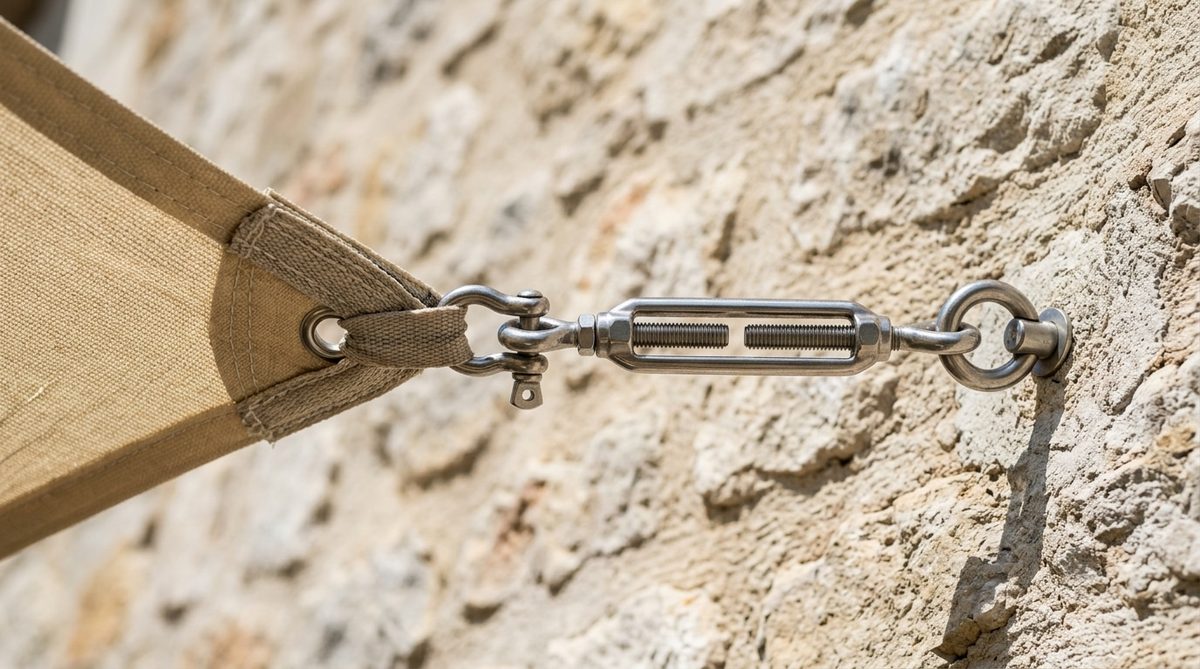
Stop fighting your weather. If your summer shade sail has turned into a leaf-filled hammock that sags every time a breeze hits, you aren’t alone. You are probably climbing your ladder every two weeks, yanking on loose cords in a futile hope of flattening the fabric. This repetitive chore isn’t bad luck. It is a design flaw.
The secret isn’t brute force. It isn’t more knots. It is using the right gear and respecting basic geometry. Professional landscapers know this. They don’t hope for tightness; they engineer it.
The Fatal Mistake: Ignoring Pitch and Anchor Strength
Most DIYers hang their shade sails flat against a wall or tie them to a random tree branch. This is the fastest way to ruin the setup. A flat sail collects water. Rain pools in the middle, creating a heavy pocket that stretches the seams and fibers out of shape within a single storm.
You need slope. Aim for a minimum 20% pitch across the angles of the sail. This ensures water runs off immediately. No pooling. No sagging.
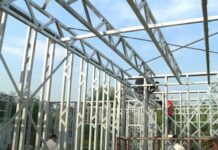
But slope means nothing if your anchors fail. A basic screw into crumbling brick? It will strip. A thin metal post? It will buckle under wind load. You need a skeleton that won’t bend.
- For masonry: Use chemical anchor bolts. Drill deep. Fill the hole. Insert the bolt. This bond is rigid.
- For freestanding structures: Use thick steel masts. Embed them in concrete footings. Do not set them in dirt.
Without these unyielding base points, the tension you create will simply rip the support out of the wall or tip the pole over. Secure your foundation first.
The Pro Revelation: Ditch Rope, Use Stainless Steel Turnbuckles
The real change happens when you stop tying the sail to the anchors. Old-school nylon ropes, marine lines, and synthetic laces stretch. Heat makes them expand. Tension makes them relax over time. You tighten them in July, and by August, they are loose again.
Throw them away.
Use stainless steel turnbuckles (also called ridoirs). These are threaded metal devices that go between the anchor point and the sail corner. They offer mechanical leverage against climate shifts. They hold distance with surgical precision.
Having the hardware isn’t enough. How you tighten them matters more.
Do not hang the sail, crank one turnbuckle tight, and move to the next. That creates uneven stress. It will warp the fabric.
Instead, use the cross-tension method.
- Attach the sail loosely to all four corners.
- Start at one corner. Crank the turnbuckle just a quarter-turn.
- Move to the opposite corner. Crank it similarly.
- Go around the sail, circle by circle, tightening progressively.
This gradual buildup aligns the borders evenly. It absorbs the rigidity of the metal without tearing the attachment points. You are distributing the load, not concentrating it.
The Formula for Zero Maintenance
Once you lock in these mechanical principles, the bi-monthly repair trips vanish. You get a flat, silent surface that withstands the heat.
The equation is simple:
- Stainless steel turnbuckles to eliminate elasticity.
- Solid anchor points (chemical anchors or concrete-embedded posts) that refuse to yield.
- A light pitch for water runoff.
- Progressive tensioning to align the fabric.
This combination creates aerodynamic stability. The sail cuts through the air rather than acting like a parachute catching every gust. It stops flapping. It stops straining.
You aren’t just covering your terrace. You are building a durable exterior structure. The comfort of a taut, sun-blocking canopy changes the entire vibe of your outdoor space. No more screwdriver in hand. No more climbing. Just shade.
Now that the wind won’t steal your afternoon, what’s next for your garden?