





























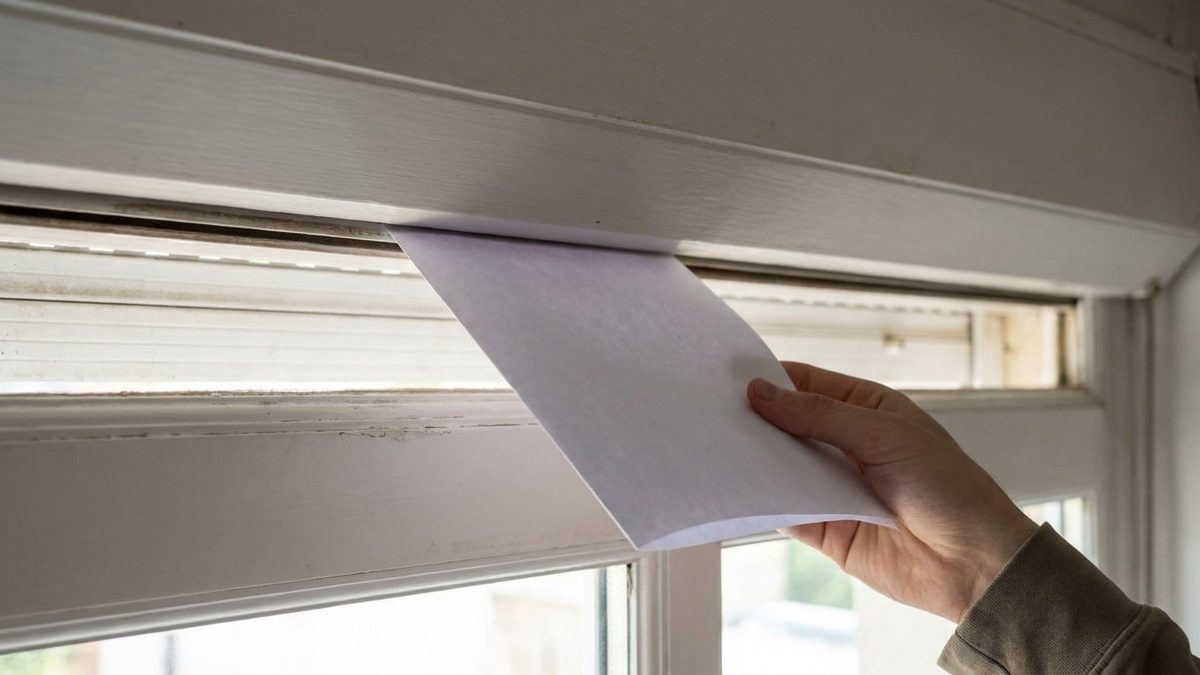
It takes three seconds to diagnose a major energy leak in your home. Slide an A4 sheet of paper under the bottom seal of your roller shutter housing. Pull it gently. If the paper slides out with zero resistance, hot air is pouring into your house. That simple gesture costs you money every year. Most homeowners ignore this architectural detail, but it hides a significant thermal problem.
Зміст
Why the Shutter Box is a Thermal Bridge
We usually obsess over double-glazed windows and insulated roofs. We check walls exposed to the south. Yet the roller shutter box—whether mounted inside or outside the facade—is often the weakest link. It acts as a major thermal and acoustic bridge.
The housing is essentially empty. It provides no insulation. If it replaces insulation material, it becomes a direct path for heat transfer. A thermal bridge is a zone where heat crosses the wall without resistance. On a 38°C day, while your AC runs, an uninsulated box is like leaving a window slightly open.
This heat gain results from three combined physical forces:
– Conduction: Heat moves through the poor insulating materials of the box itself.
– Convection: Air circulates inside and between the interior and exterior of the housing.
– Radiation: Heat transfers via electromagnetic waves, which intensifies in summer.
These mechanisms work twenty-four hours a day.
The 20% Factor You Can’t Ignore
A poorly insulated shutter box can account for up to 20% of a window’s energy loss. This overlooked component facilitates heat loss in winter and excessive heat entry in summer. If you have four windows with roller shutters, you have four active leaks. Your air conditioning or fan compensates for this constantly.
Poor seals, lack of airtightness, and construction flaws create air passages. The housing is directly exposed to external temperature swings, worsening summer heat entry. Most boxes are made of PVC, old wood, or aluminum—none of which are natural thermal insulators.
This sensation of drafts pushes you to lower your thermostat. Your bills spike. In summer, hot air enters the box, raising indoor temperatures. The cycle is vicious: the more you cool, the greater the temperature gradient. The greater the gradient, the faster the heat gain.
How to Test Your Seal and Check for Insulation
This isn’t a social media hack. It’s a practical airtightness check.
- The Paper Test: Insert a standard sheet of paper under the lower joint of the shutter housing. This is the gap between the bottom of the box and the top of the window frame. Pull slowly. If the paper exits without resistance, air is moving. If it catches firmly, the seal is good. Repeat this on the sides of the box and around the access trap. For a more precise reading, use an infrared thermometer to detect temperature differences.
- The Internal Check: Determine if your housing already contains insulation. Use a flathead screwdriver to unscrew or unclip the front face of the housing. Look inside. You should see mineral wool or insulating foam surrounding the shutter cylinder. If you see only the cylinder and empty space, you need to act.
“A thermal bridge is a zone where heat crosses the wall without resistance.”
Ignoring this void means ignoring a primary source of discomfort and expense. The fix isn’t always complex, but the awareness must start with seeing the box not as a fixture, but as a hole in your thermal envelope. What happens if you fill that void? That is the next step in reclaiming your home’s temperature.
DIY Fix: What Actually Works for Roller Shutter Insulation
Good news: you don’t need to replace your windows to stop heat leaks. Insulating the shutter box is cheap, effective, and often the only fix you actually need. It’s a low-cost upgrade that boosts your home’s energy efficiency without the heavy price tag of new joinery.
When it comes to materials, three options handle 95% of cases. Rock wool is the go-to mineral insulation for these boxes. You’ll need about 3 to 4 cm of thickness to get real thermal performance. If space is tight, extruded polystyrene (XPS) is lighter, easy to cut, and resists moisture. It’s a solid compromise between performance and ease of use. Then there’s grooved foam. It’s flexible and made specifically for shutter coffers. Easy to install.
But here’s the thing: insulation does nothing without a tight seal. Foam joints, adhesive insulating strips, and trap seals are non-negotiable. They stop air leaks. This is where most DIYers fail. Putting in insulation without sealing the edges is like plugging a hole but leaving the sides open. Air will just sneak through.
Watch out if your shutter is motorized. Do not block any mechanisms when you’re stuffing the box. Test it thoroughly after you’re done. Make sure the motor isn’t strained or damaged. The space inside the box limits how thick your insulation can be. Don’t force it.
In summer, a well-insulated shutter can drop indoor temps by 4 to 7 degrees. That’s the difference between a sleepless night at 26°C and a restful one at 20°C. Spend a half-day tinkering. Spend a few dozen euros on foam and seals. You’ll buy back entire nights of sleep. The math works.
Sources: projet-agencement.com | neozone.org