





























Spring is here. The urge to renovate hits hard. You want to drag that old carpet out and replace it with something new. Something clean. Maybe laminate. Maybe vinyl plank. You buy the boxes. You carry them into the living room. You grab your jigsaw. You feel that rush of excitement.
Installing click-lock flooring seems easy. It is easy. Until it isn’t.
You rush. You skip steps. Next thing you know, your floor is sinking underfoot. Or worse, it’s squeaking. Every step sounds like a gunshot in a library. The joints pop. The planks warp. It’s a disaster.
The difference between a floor that lasts ten years and one that fails in six months comes down to one thing. Preparation. Specifically, how you handle the subfloor. If you skip the prep, you’re asking for trouble. Here is how you avoid the catastrophe of a cracking laminate floor.
Зміст
The 2-Meter Straightedge Test
Don’t open the first box yet.
Put the tools down. Step back.
Before you lay a single plank, you need to check the ground. Literally. Your eyes are lying to you. They smooth over imperfections. They trick you into thinking a surface is flat when it’s actually full of hidden dips and bumps.
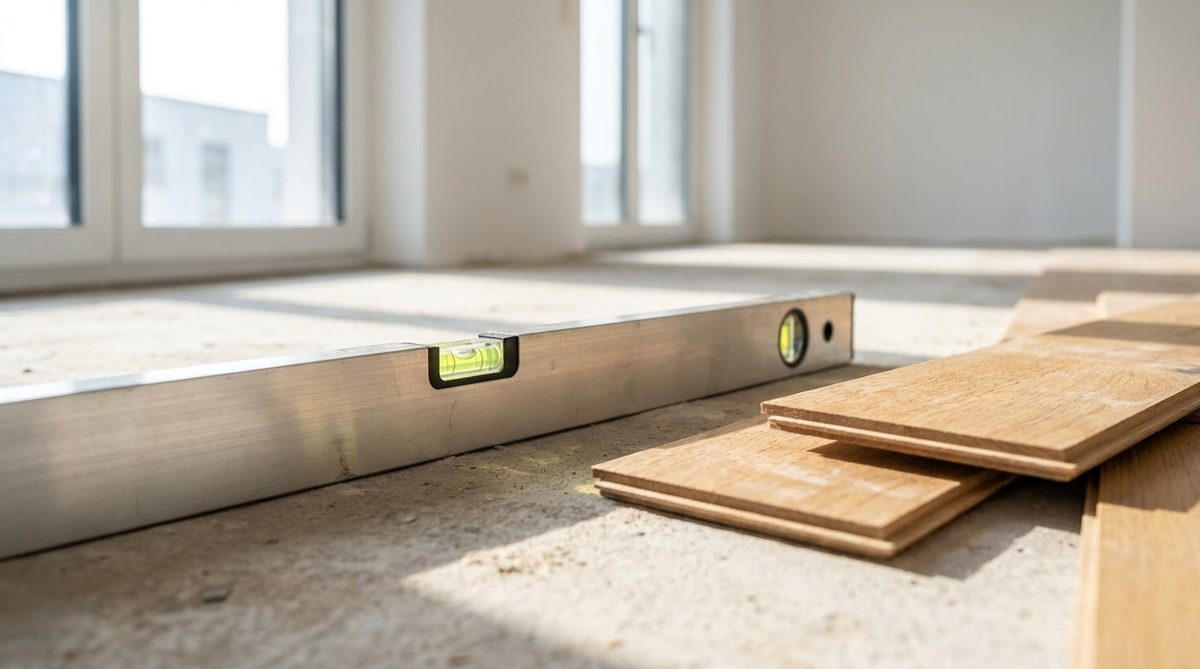
You need a tool. Not a laser level. Not a fancy gadget. Get a 2-meter straightedge. Ideally, an aluminum mason’s straightedge. It needs to be rigid. Long enough to bridge gaps. If it bends, it’s useless.
How to find hidden unevenness
Place the straightedge on your subfloor. It could be concrete. It could be old tile. It could be plywood. Doesn’t matter.
Start in one corner. Slide the bar across the surface. Rotate it slowly. Like a clock hand. Check every angle.
Look for the gap.
You want to see where the metal bar touches the floor and where it doesn’t. Light is your best friend here. Shine a flashlight behind the straightedge. If light leaks through, you have a problem.
What’s the limit?
Anything over 2 to 3 millimeters is too much.
Why does this matter?
Laminate and vinyl planks are rigid. They don’t bend like carpet. If there’s a dip under a plank, that plank becomes a seesaw. Step on one side, and the other pops up. The locking mechanism takes the stress. Eventually, it snaps.
Ignoring these small gaps creates a trampoline effect. Your floor will creak. It will fail.
Stop Moisture Before It Swells Your Floor
Flatness is half the battle. Moisture is the other half.
Wood and wood-composites hate water. Capillary action is silent. It climbs up through concrete. It hides under tile. You can’t see it. But it’s there.
If you seal moisture in under your new floor, you’re building a greenhouse.
The planks will swell. They will cup. They will buckle. You’ll hear those dreaded cracks. And worse, mold will grow underneath. Invisible. Damaging your air quality. Fixing it later means ripping everything up. Don’t let that happen.
The plastic sheet test
Want to know if your subfloor is dry? Do this.
Cut a square of clear plastic. About 50 centimeters on each side. Tape the edges down tightly with strong duct tape or painter’s tape. Seal it completely.
Leave it there for 24 hours.
Go back. Look underneath.
Do you see condensation? Is the plastic wet? Did the concrete underneath darken?
If yes, you have a moisture problem.
Wait. Dry it out. Treat it. Don’t install until it’s bone dry. Skipping this step wastes money and time. A ruined floor is expensive to replace.
Fixing a Wavy Subfloor Fast
So, your floor isn’t flat. And it might be damp. Panic? No.
You have solutions. You don’t need to rip up the subfloor. You don’t need a professional crew.
Localized self-leveling compound
If you have deep holes or significant dips, use a localized self-leveling compound.
This isn’t for covering an entire room if it’s mostly fine. Use it for the bad spots. Mix the product. Pour it into the depressions you found with the straightedge.
It’s fluid. It flows. It seeks its own level.
It fills the voids. It creates a smooth base. It dries fast. It’s cheap. It saves the install.
Thicker underlayment for minor bumps
What if the floor is mostly okay? Maybe just 1 or 2 millimeters of variation between old tiles?
You don’t need concrete. You need good underlayment.
Forget the thin, white foam rolls you buy at the hardware store. Get a thicker, denser underlayment. It’s designed to absorb minor imperfections. It adds cushion. It insulates against sound.
It bridges the small gaps that would otherwise telegraph through your new floor.
The Bottom Line
You can’t rush this.
The click system is strong, but it’s not magic. It relies on a perfect base. Check your flatness. Check your moisture. Fix the big holes. Bridge the small bumps.
Do this, and your floor will look great for years. Skip this, and you’re just waiting for the squeak.
The tools are simple. The rule is strict. The result is everything.
Now, go measure your subfloor. Before you open those boxes.
Why Skipping Inspection Ruins Your DIY Floors
You can skip the fancy tools for a moment, but you cannot skip the prep. That is where amateur hours meet disaster. A thorough sweep and vacuum isn’t just about cleanliness; it is about structural integrity. Small grit or gravel particles act like sandpaper underfoot. They pierce the underlayment. They create noise. They create failure points that will haunt you for years.
You need to hunt down imperfections. High spots cause gaps. Low spots cause hollow sounds and eventual plank depression. If the subfloor isn’t level, neither will your finish be. Correct these issues before anything else. If you applied any leveling compound or sealant, wait. Let it dry completely. Rushing this step compromises the bond. It ruins the stability.
Discipline in prep is the difference between a floor that lasts decades and one that squeaks within a year.
Achieving a Flat, Quiet, and Durable Result
The time spent tracking down every bump pays off immediately during installation. When the surface is truly flat, the clicking sound of interlocking planks changes. It becomes smooth. Satisfying. You aren’t forcing edges together. You aren’t fighting the tongue-and-groove mechanism. The joints settle naturally. The result is a surface with absolute regularity.
Walk on it later. Barefoot. In shoes. The feedback is different. It feels solid. There is no flex. No unwanted movement. Acoustically, it is dead quiet. No creaks. No pops. Just a stable, silent plane that supports your home without complaint.
The Verdict on Preparation
Respect the process. Good sense and site experience dictate these steps. Refinishing floors becomes less of a chore and more of a craft. Leveling issues transform from insurmountable obstacles into logical checkpoints.
Before you lay the first plank, look at what is underneath. Inspect the foundation of your project. It is not just about aesthetics. It is about mastering the work. Do it right. The rest follows.