




























Spring brings that irresistible itch to tackle home projects. You see a dull bookshelf, a table needing fresh varnish, or floorboards that could use a refresh. It’s easy to grab the sander and dive in. But there is one invisible factor that can sabotage the entire result, even if the wood looks bone-dry to the naked eye.
Before you open the varnish or turn on the power tool, stop guessing. Measure the moisture content instead.
Зміст
The invisible trap: high moisture content in seemingly dry wood
The aftermath of sanding damp lumber: raised grains and uneven surfaces
Working with wood that holds too much water is a gamble you will lose. After you spend hours sanding, you might notice the fibers standing up like a bad carpet. The surface becomes irregular. You think you have prepared it correctly, but the final look never matches your vision.
How moisture ruins varnish, oil, and paint
Water inside the wood fights against your finish. If the substrate isn’t in the right condition, the results are messy. You might see the coating bubble up. It can turn cloudy or white. Or it simply won’t adhere at all. Whether you are using oil, paint, or clear varnish, the outcome suffers when moisture is present.
Why dry-to-the-touch is a lie
The tricky part? Moisture doesn’t always announce itself. The wood might feel dry. The color might look even. It feels ready to work. But the problem is hiding underneath. You can have a perfectly smooth surface that is still full of hidden water.
The right move: measure moisture, don’t guess
Guessing by eye or touch never works. It’s a gamble you don’t need to take.
You need a number. A hard, reliable number. That number is the moisture content. It tells you one thing clearly: can you start working now, or do you wait?
Ignoring this step is why finishes bubble, peel, or mold later on.
Target Moisture Levels by Project Type
Not all projects demand the same dryness.
A heated interior room is different from a humid bathroom. An exterior shed differs from an exposed deck.
The rule is simple: match your target moisture level to the environment. Don’t just apply a default finish. If you put a standard interior varnish on an outdoor surface because you didn’t check the wood’s condition, you’re asking for trouble.
Know your context. Then know your threshold.
When to Check
Once isn’t enough.
Check when the wood arrives. Check after it has sat in your garage or storage. Check before you apply every single coat.
And check after incidents. Rain. A leaky basement. A damp construction site.
Any sudden change in environment warrants a re-test. Don’t assume the wood stayed dry just because it was dry on Monday.
The Leroy Merlin Wood Moisture Meter: A Game Changer at Half Price
The Deal: 28€ Instead of 57€
Here is where the tool makes financial sense.
On the Leroy Merlin website, you can find a wood moisture meter for 28€. It was 57€.
That’s a significant cut. It’s a cheap insurance policy for your project. One failed coat due to hidden moisture costs more than this tool.
What It Actually Does
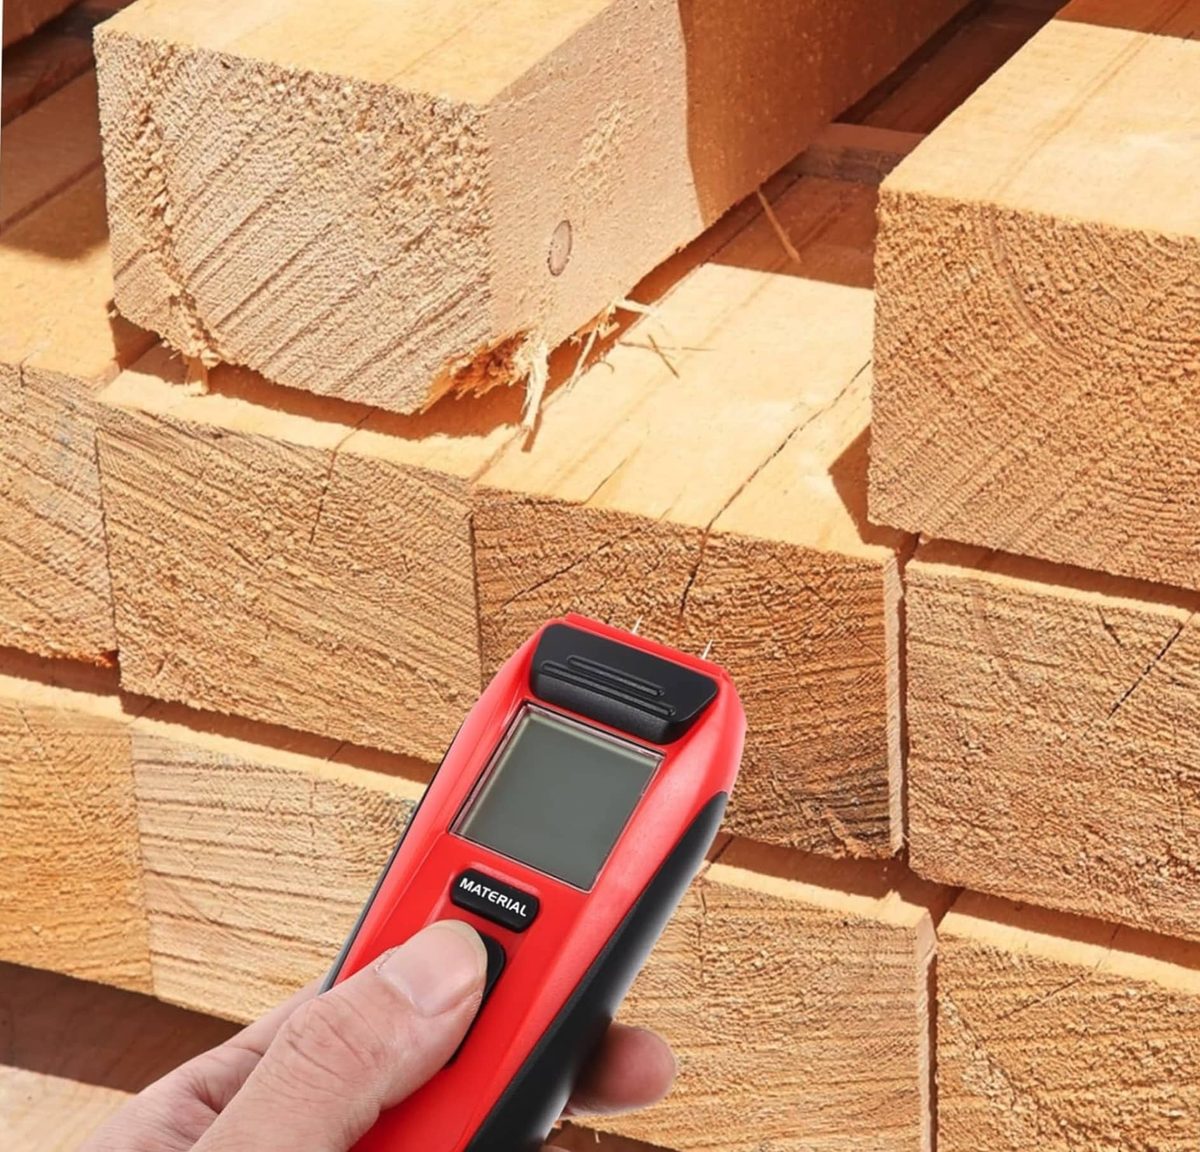
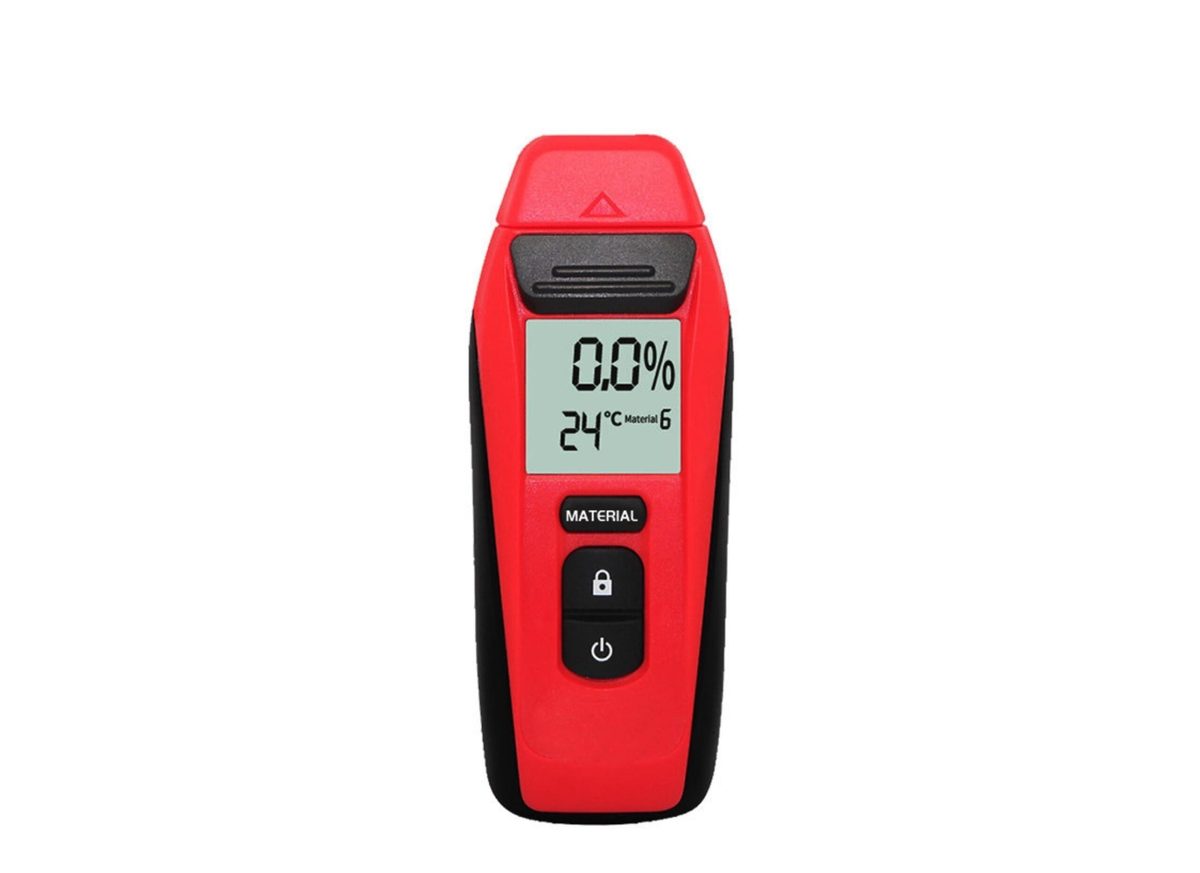
This pin-type meter gives you an immediate reading.
It’s not a fancy data logger. It’s a quick decision-maker.
- Wait: If the reading is high.
- Work: If the reading is in range.
- Protect: If the weather turns.
The LCD screen is clear. The device is light. You can hold it with one hand. No complex setup.
Who Needs This?
It’s not just for pros.
- Occasional DIYers.
- Renovators fixing up old houses.
- Woodworkers making furniture.
- Anyone building a deck or laying parquet.
It helps you spot damp spots under floorboards. It detects water damage hidden behind walls. It’s versatile.
How to Use It in 2 Minutes
No headache. Just reliable data.
Prep the Area
Clean the surface. Remove dust.
Don’t measure over existing finish. You want the raw wood’s reading.
Pick a spot that represents the whole piece. Not a knot. Not a crack. A solid, flat area.
Take Multiple Readings
One point can lie.
Check the edges. Check the center. Check the ends. Check opposite faces if possible.
If one spot is significantly higher, you’ve found a problem zone.
Read and Interpret
Look at the average. But more importantly, look at the spread.
Wide variations mean inconsistent drying. That’s a red flag.
If you see high spots, mark them. Re-check them later. Don’t ignore the outliers.
What If the Wood Is Too Wet?
Panic is not a strategy.
You have options.
Dry It Out Properly
Ventilation is key. Open windows. Use fans.
Add gentle heat. Don’t blast it with a heater placed too close. Risk of cracking.
Use a dehumidifier if you’re indoors.
Give it time. Rushing this phase ruins everything.
Mistakes to Avoid
Don’t cover it with a tarp. Traps moisture.
Don’t varnish over wet wood to “seal” it. You’re locking the moisture in. It will rot from the inside out.
Don’t sand too early. You’ll just clog the paper with damp sawdust.
Action Plan
If the wood is wet:
- Stop.
- Stabilize. Improve airflow and temperature.
- Protect. Cover loosely if outdoors, but don’t seal.
- Wait. Test again in a day or two.
Measure to decide. Don’t guess.
The Recap: Avoid Regret
The invisible detail is the moisture.
Even if the wood looks dry. Even if it feels dry.
Check it.
The Express Method
- Measure at multiple points.
- Compare to your project’s threshold.
- Wait if needed.
Simple. Effective.
The Opportunity
The Leroy Merlin wood moisture meter is 28€ now. It used to be 57€.
Secure your project with this small investment.
Make this measurement your automatic step before the sander comes out.
Your finish will thank you. Or you won’t have to do it all over again in six months.