



























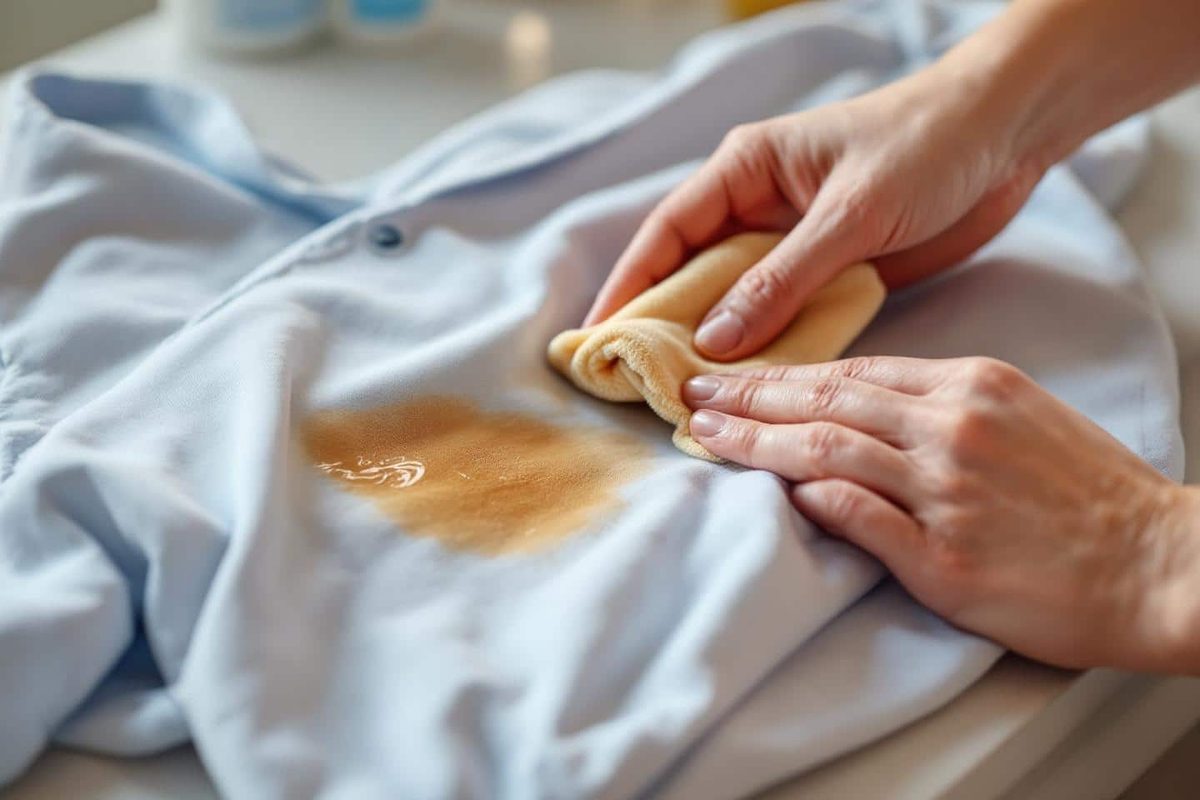
You know the drill. You’re in the bathroom, aiming for a sun-kissed glow. You apply the self-tanner. You step back. And then you see it: an orange streak on your ankle, a dark brown smear on your forearm, or worse, a palm-colored handprint on your white sheets. It’s a nightmare scenario that turns a vanity routine into a crisis management operation.
Most people panic. They reach for the hottest water they can find. They grab a bar of harsh soap. They scrub. They think they are helping.
They are making it worse.
This isn’t just bad luck. It’s chemistry. And understanding the specific reaction that happens when you mix heat with dihydroxyacetone (DHA) is the only way to save your skin—and your laundry.
Зміст
The fatal mistake: heat and friction
When a self-tanner stain is fresh, the instinct is to wash it off immediately. Vigorously. With hot water.
This is the error that locks the pigment in.
DHA reacts with the amino acids in your skin to create color. When you apply heat, you accelerate this reaction. On skin, hot water opens pores and drives the pigment deeper into the epidermis. It acts like a fixative. The stain becomes darker, more intense, and significantly harder to remove.
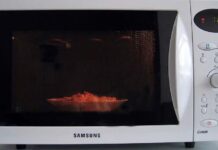
On fabrics, the result is even more permanent. Hot water essentially “cooks” the pigment into the fibers. You aren’t cleaning the stain; you are setting it.
By trying to correct the accident with heat and friction, you are compromising any chance of a subtle fix. You are trading a minor blemish for a permanent mark.
The correct reflex: Marseille soap and cold water
To stop the staining process, you need to reverse the reaction, not accelerate it. The goal is to interrupt the DHA’s bonding with the skin or fabric before it oxidizes fully.
The solution is simple, cheap, and effective: cold water and pure Marseille soap.
For your skin
- Cool down. Rinse the affected area with cold water. Do not use hot.
- Lather up. Wet a bar of pure Marseille soap (the traditional olive oil variety works best).
- Gently scrub. Rub the soap over the stain to create a light foam. Do not use abrasive tools.
- Wait. Let the soap sit on the skin for one to two minutes. This allows the surfactants to lift the pigment without driving it in.
- Rinse. Wash away with cold water again.
Repeat this process if necessary. It removes the majority of the pigment while the DHA is still on the surface layer of the skin. It is gentle enough to avoid irritation and effective enough to prevent the “orange ghost” look.
For fabrics
The same principle applies to textiles, but with a critical caveat regarding fiber type.
- Safe for: Cotton, linen, polyester, and denim.
- Avoid on: Silk and wool. The soap and mechanical action can damage these delicate fibers.
For washable fabrics, apply the cold water and soap method immediately. Afterward, air dry the item. Never put a potentially stained garment in the dryer. The residual heat from the dryer will fix any remaining pigment permanently. Line drying gives you a second chance to treat the spot if needed.
Pro tips for stubborn stains
Sometimes the quick response isn’t enough. The stain has set, or you missed the initial window. Here are additional techniques to tackle resistant marks without damaging your items.
For skin: The gentle exfoliant
If the color persists after the soap wash, you need to remove the top layer of dead skin cells where the pigment resides.
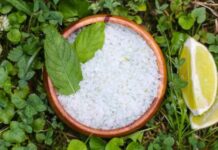
Mix fine sugar with a vegetable oil (like jojoba or coconut). Gently massage this paste onto the stained area. The sugar provides physical exfoliation, lifting the colored cells, while the oil soothes the skin. Rinse with cold water. This method avoids the redness and dehydration caused by harsh chemical exfoliants.
For fabrics: The vinegar and bicarbonate boost
For cotton or linen blends that didn’t respond to the soap, try a chemical lift. This mixture is strong but safe for most durable fabrics.
The Recipe:
* 2 tablespoons cold water
* 1 tablespoon white vinegar
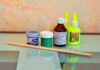
* 1 teaspoon baking soda
Apply this mixture directly to the stain. The acidity of the vinegar helps break down the pigment bonds, while the baking soda provides mild abrasion and lifting action. Let it sit for a few minutes, then rinse thoroughly with cold water.
Always test first. Before applying any mixture to a visible area, test it on a hidden seam or corner. You want to remove the tan, not the color of your shirt.
Prevention is the only real fix
The best way to deal with self-tanner accidents is to ensure they don’t happen in the first place. But even with the best gloves and steady hands, mistakes occur. Knowing how to react instantly saves you from a trip to the dry cleaner or a week of wearing long sleeves in July.
Stop reaching for the hot water. Start using the cold soap. Your skin—and your laundry—will thank you.
But what about the rest of your body? Once the immediate disaster is contained, you still have to deal with the uneven patch on your elbow or the streak down your calf. That’s a different problem entirely.
Stopping a self-tanner mishap is mostly about logistics. It’s not magic. It’s preparation.
The skin needs to be ready before the bottle even uncaps. Exfoliate gently the day before. Use a mild scrub to slough off dead cells. This creates a smooth canvas. Follow up with heavy hydration. Lotion or cream works. Just avoid silicones. They create a barrier. You want the color to grab onto the skin, not slide off it. This step alone cuts down on patchiness significantly.
When you actually apply the product, wash your hands. Seriously. Then take a dime-sized amount of your plain moisturizer. Rub it into the trouble spots. Elbows. Knees. Ankles. Heels. These areas drink up the dye like sponges. Without that barrier, they end up looking like orange islands in a sea of skin. The moisturizer levels the playing field.
Use the right tools. Gloves are cheap. Buy them at any big-box store. They keep your palms from turning the color of a traffic cone. It’s a small thing that saves a lot of embarrassment.
Protect your bedding and clothes. Wear dark, old garments for the first few hours. Light fabrics show everything. If you sweat, the tan transfers. If you rub, the tan smears. At night, cover your pillow with a dark towel. You do not want to wake up with a bronzed forehead print on your white sheets.
Patience is the hardest part. Wait at least ten minutes before dressing. Let the product penetrate. Don’t rush. Don’t jump in the shower. The active ingredient, dihydroxyacetone (DHA), needs time to react with the amino acids in your skin’s surface layer. That’s the chemical reaction that makes you look tanned. Interrupt it too soon, and you get streaks.
If you do mess up, or if you just want to avoid the drama entirely, these steps are your insurance policy. Avoid hot water when you do eventually wash off. Hot water opens the pores and strips the color unevenly. Stick to cool water and Marseille soap for any spot cleaning. It’s gentle. It works.
With a little forethought and the right accessories, the glow stays even. The stains stay in the trash can. You get the look without the hassle.