




























There is nothing quite like the sound of a door scraping against the floor to ruin the mood. It’s a high-pitched whine that marks every single passage as a minor ordeal. You see the damage immediately. The parquet gets scratched. The carpet begins to fray at the edges. And it gets worse with the seasons. Especially now, as winter approaches and the house closes in. You want a cozy cocoon for the holidays, not a construction zone.
But what if you could give your door a second life without ending up in a cloud of sawdust? There is a clever trick. It is simple. It is effective. And it requires almost no special tools.
Зміст
Why Your Door Is Rubbing the Floor
First, you need to understand the enemy. Is it the door itself? The frame? Or the floor?
A dragging door usually happens for one of three reasons. First, humidity. Wood swells when it gets wet. Winter brings cold air inside, but also moisture from breathing, cooking, and bathing. The wood expands. It grows.
Second, gravity and time. Hinges loosen. The screws strip out of the soft wood inside the frame. The door sags. It drops a millimeter or two. Then it drags.
Third, the foundation. Houses settle. Floors shift. If the problem is structural, this fix might only be temporary. But for most standard interior doors, the culprit is simple mechanical failure. The hinge is loose. The wood is swollen.
Identify the source before you start twisting.
The Hinge Hack: Raising the Door Without a Plane
Most people panic. They run to the hardware store to buy a hand plane or an electric sander. Don’t do it. Sanding is messy. It destroys paint or varnish. It changes the aesthetic of your home.
Instead, adjust the hinges. This is the clean, quick solution you’ve been looking for. It works by physically lifting the door away from the floor.
Here is how to do it.
Step 1: Inspect the Damage
Look at the hinges. Are they tight? Are they sagging?
If the door rubs evenly along the entire bottom edge, the whole door has likely dropped. If it only rubs on one corner, the hinge on that side is probably loose or worn out.
Check the screws. If you can see light between the screw head and the wood, they are loose. Tightening them might be all you need. Use a screwdriver. Turn firmly. If the screw spins but doesn’t tighten, the hole is stripped. Move to Step 3.
Step 2: The Washer Trick
This is the core of the trick. You want to push the door up by a millimeter or two.
Remove the hinge from the door frame (the part attached to the wood of your house, not the door itself). Keep the screws in hand.
Take a washer. A metal one. Or a thick piece of cardboard. Or a cut-out from a soda can.
Place it behind the hinge leaf.
Reattach the hinge. Screw it back in.
The washer acts as a spacer. It pushes the hinge away from the frame slightly. This lifts the entire door up.
One washer raises it about one millimeter. Two washers raise it two millimeters.
Try one. Test the door. Does it drag less? Good. Try another if needed.
Be careful not to overdo it. If you raise the door too high, it might hit the doorstop or look misaligned. A little lift is all you need.
Step 3: Fix Stripped Screw Holes
Sometimes the wood around the screw hole is chewed up. The screw won’t hold. The door drops again after you tighten it.
Here is the fix.
Take a wooden matchstick. Dip the tip in wood glue.
Insert the matchstick into the stripped screw hole.
Break it off flush with the surface.
Let the glue dry. It takes about an hour.
Drive your screw back in. It will bite into the fresh wood. It will hold.
If the damage is severe, replace the screw with a longer one. A 40mm screw will reach deeper into solid wood, bypassing the stripped area.
Tools You Actually Need
You do not need a full toolkit. You need four things.
- A Screwdriver: Ideally a Phillips head that fits snugly. A slipping screwdriver strips the head and creates more work.
- Shims: Washers, cardboard squares, or even folded paper. They act as spacers.
- Wood Glue: Standard PVA glue works fine.
- Matchsticks: Or toothpicks if you need smaller fillers.
Optional: A small mallet. Sometimes the hinges are stuck. Tap them gently to loosen them before removal.
The Result
This takes less than thirty minutes. No dust. No noise. No mess.
The door swings freely. The floor is safe. The carpet stays intact.
It is not a permanent fix for a house that is sinking into the earth. But for the seasonal swelling of wood or the natural sag of a hinge? It is perfect.
You have restored the function. You have kept the aesthetic. You have avoided the sawdust.
What will you do with the extra time? The door opens now. It closes with a soft click. The house feels a little more like a home again.
The winter is still coming. But your door is ready.
Why This Simple Fix Stops Noise and Scratches
Stop dragging your feet on every door swing. You know the one. That cheap metal screech that echoes through the hallway. Or worse, the door dragging on the carpet, shredding the fibers and leaving tiny piles of debris at the threshold. It’s not just annoying. It’s a sign of a misaligned hinge.
Here is the reality: most homeowners reach for a planer or a circular saw when the door drags. Don’t. That’s overkill. It creates dust. It risks ruining the finish. And it’s permanent.
Instead, look at the hinges.
There is a simple mechanical adjustment that makes the door open and close like it just came out of the box. Quiet. Smooth. No more scuff marks on the baseboards. This isn’t magic. It’s physics. You are lifting the door slightly by altering the pivot point. The result? Immediate comfort. No more slamming. No more waiting for the latch to catch. Just silent operation. This matters when you have guests over. It matters when the baby is sleeping. It matters on Christmas Eve when everyone is tired and irritable.
How to Maintain Hinges and Prevent Future Rubbing
You fixed it. Now keep it fixed.
Hinges are metal on metal. Eventually, friction wins. To stop the grinding before it starts, you need lubrication. Not once a year. Twice.
Use a fine oil or a silicone spray. Drip it into the knuckles of the hinge. Wipe away the excess. If you let it drip onto your hardwood floors, you’re creating a new problem. Silicone spray is cleaner. It doesn’t attract dust.
Check the screws.
Wood expands. Wood contracts. Temperature changes loosen fasteners. During your spring cleaning—or right now, before the holiday rush—tighten every screw in the hinge. If a screw spins freely, the wood strip is stripped. Drill it out. Fill the hole with wood glue and toothpicks. Let it dry. Screw it back in. It will grip again.
Humidity is the enemy of wood doors. If your house feels damp, the wood swells. The door fits tighter. It drags again. Use a dehumidifier. Keep air moving. Stabilize the environment. A stable home means a stable door.
And teach the kids.
Let them hang backpacks on the doorknob. They will. It’s human nature. But heavy loads stress the hinges. They sag. They misalign. Tell them to use the hook in the closet. It saves the hardware. It saves the drywall. It saves you from doing this again next month.
The Bottom Line for Always-Sharp Doors
Do not buy a planer.
Do not hire a carpenter.
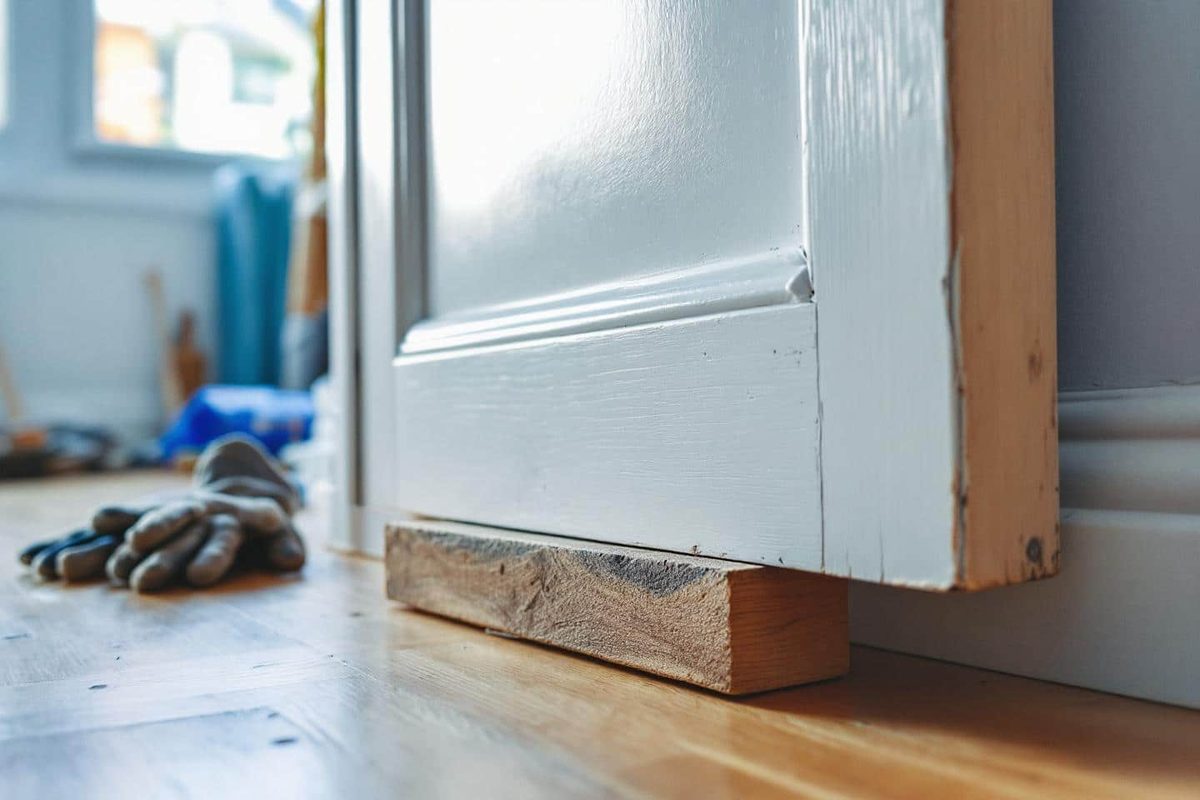
Most door issues are solved by lifting the door, not shaving it. You need a tool to support the door’s weight while you loosen the hinge pins or adjust the screws. A wedge. A block of wood. Even a heavy book works in a pinch.
Support the weight. Loosen the screws. Lift the door a millimeter. Tighten the screws. Check the swing.
If it still drags, repeat.
It takes ten minutes. It costs nothing. It leaves no sawdust.
This is the kind of small win that defines a well-kept home. You didn’t just fix a door. You restored peace of mind. You kept the noise down. You protected the finish.
Is that really all it takes? Often, yes.
The next time something in your house acts up, don’t assume it needs a major repair. Check the hinges