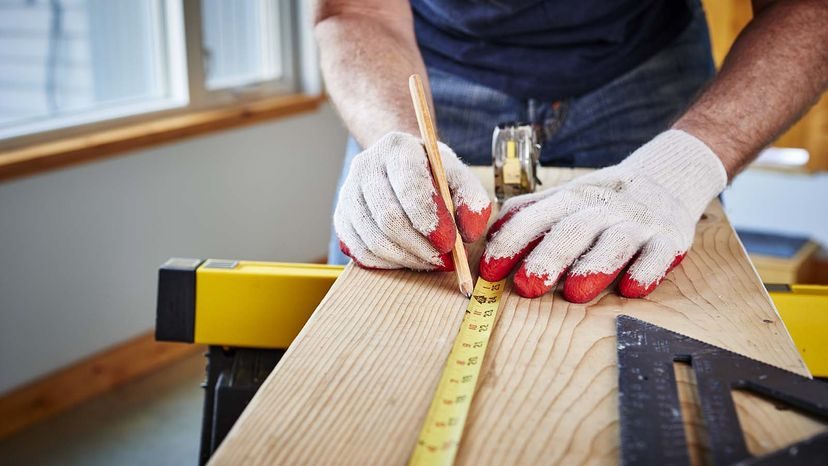
Tape measures are the workhorses of the shop. Contractors, tailors, and weekend DIYers all rely on them. The tool looks simple enough. A blade snaps out. A hook grabs a nail. But get the reading wrong and your shelf won’t fit. Or your doorframe leaves gaps.
Knowing how to read a tape measure is non-negotiable for accurate cuts. The saying “measure twice, cut once” exists for a reason. One wrong digit and you waste wood. You waste time.
Зміст
Understanding the Tool
Before you trust a number, know the hardware. Parts vary by brand, but the anatomy stays consistent.
- Blade : The flexible metal strip with the printed graduations.
- Metal hook : The loose tip at the end. It slides slightly to account for its own thickness.
- Hook slot : The hole in the tip. Use it to hang the measure on a screw head.
- Case/Housing : The rugged shell that protects the spring mechanism.
- Lock : The sliding button. Engage it to hold the tape steady.
- Belt clip : The metal tab on the side. Keep the tool accessible.
How to Read a Tape Measure in Inches and Feet
In the US, imperial dominates. The boldest markings are inches and feet. Start at the hook.
You will see a large number for every inch. These are the longest lines on the edge. Every 12 inches, you hit a foot mark. The number resets. If you are measuring 14 inches, the tape might just show “2” (for two feet, zero inches) or continue counting up depending on the design. Some tapes add small auxiliary numbers to clarify this. They might note “12” under the 2-inch mark to remind you it’s 1 foot, 2 inches.
Here is the breakdown for precision.
- Full inches : Look for the bold, long lines. The number above or below tells you the count.
- 1/2-inch : The second-longest line between inch marks.
- 1/4-inch : Halfway between the 1/2 marks.
- 1/8-inch : Halfway between the 1/4 marks.
- 1/16-inch : The shortest marks. This is standard on most tapes.
Most standard tapes divide an inch into 16 segments. That gives you precision down to 1/16th of an inch. If you need finer detail, you will need a different tool or a digital caliper.
To get your total measurement, identify the last full inch mark before your target. Then count the remaining fractional lines. Add them together. Simple math prevents costly errors.
“Measure twice, cut once.”
How to Read a Tape Measure in Millimeters
Metric systems are gaining ground in DIY stores, but many tape measures still default to imperial for the primary scale. If your tape uses millimeters, the logic shifts.
The primary markings are now millimeters. Every 10mm is a centimeter. Every 100mm is a meter.
- Millimeters : The smallest lines. Usually the shortest marks.
- Centimeters : The longer lines every 10 millimeters. Often highlighted with bold numbers.
- Meters : The largest numbers, usually at the top line.
Reading metric is often more intuitive because it is base-10. There are no fractions to juggle. 10mm is a centimeter. 30mm is three centimeters. If you are working with lumber from a supplier that uses metric dimensions, the transition is smoother. You just align the zero with the edge and read the nearest bold number.
However, many dual-scale tapes combine both. You might see inch markings on the top edge and metric on the bottom. Or vice versa. Know which scale you are using before you make your cut.
Most tape measures are durable enough for rough use. But the hook is delicate. If you bend the hook, the “slip” that compensates for the hook’s thickness breaks. Your measurements will be off by the width of the metal. Check the hook. If it doesn’t wiggle freely, replace the tape.
Accuracy depends on tension. Pull the tape straight. Sagging introduces error. Especially over long distances. A loose tape sags like a catenary curve. The reading will be longer than the actual distance.
Use the lock. Don’t try to hold a 25-foot tape with one hand while marking with the other. It’s sloppy. It’s dangerous.
Safety first. The blade snaps back with force. Keep fingers clear. Wear safety glasses if working overhead. A snapping tape can bruise skin or crack glasses.
The tool is simple. The
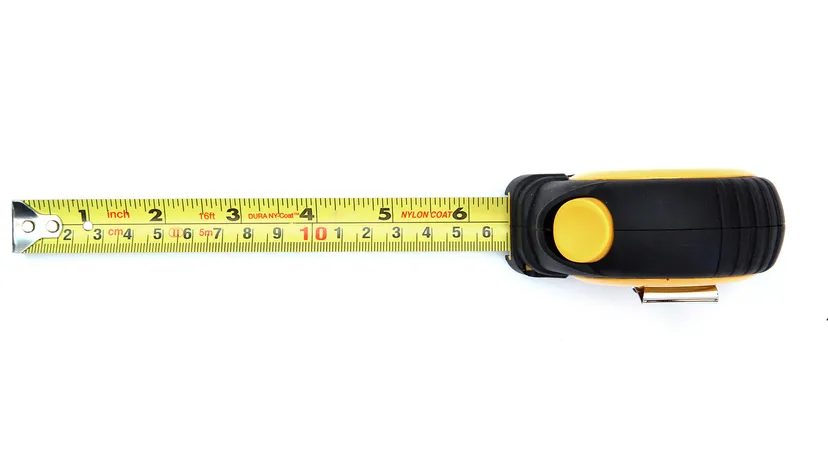

Reading Metric Tapes: The Millimeter Breakdown
Reading a tape measure in millimeters is not the same as working in inches. It takes a bit of getting used to. Metric tapes mark every centimeter with a bold line. You will see ten smaller marks between them. Each small mark equals one millimeter. That is one-tenth of a centimeter.
Start by finding the nearest whole centimeter to your endpoint. Count the small lines after that number. Add them together using a decimal.
If you stop at 15 whole centimeters with 8 small lines left over, your measurement is 15.8 centimeters. Simple math. Just add the millimeters to the centimeters.
Precision Tips for Your Tape Measure
You need an accurate measurement. A sloppy tape job ruins a renovation.
Align the tape evenly with the object. If it is crooked, your numbers are wrong. For extra accuracy, try “burning an inch.” Start at the 1-inch mark instead of the hook. Then subtract that inch from your total. This avoids the uncertainty of the hook’s position.
The hook on a tape moves. It shifts about 1/16-inch depending on thickness. It pushes when measuring inside a corner. It pulls when measuring an outside edge. This design feature is normal. But if the hook is bent or damaged, the movement is off. You will get bad numbers. Check your hooks before starting a big project.
Retracting the tape matters too. Letting it snap back can break the spring or bend the blade. Pull it back slowly. Protect your tool.
Special Markings and Calibration
Some tapes have small black diamonds. They appear every 19 3/16 inches. This spacing matches engineered floor joists in new construction. Use it if you are framing a floor.
If you have multiple tapes on a job, calibrate them. Compare them against each other. You need exact measurements across different tools. A slight variance in one tape can throw off an entire room’s layout.
A bent hook doesn’t just give you a slightly wrong number. It makes every subsequent measurement unreliable.
Keep your tapes clean. Store them properly. The difference between a DIY disaster and a clean fit often comes down to how you read the metal strip in your hand.
It is not hard. It just requires attention.


